Schedule a Conversation

CRM Integration for Nonprofit Websites: What Webflow Can and Can't Do

Published on
February 15, 2026
Fundraising & Donations

CRM Integration for Nonprofit Websites on Webflow: A Practical Guide

What "CRM Integration" Actually Means on a Webflow Site

When a nonprofit asks for CRM integration on their website, the request usually means one of two things — and they require different approaches.

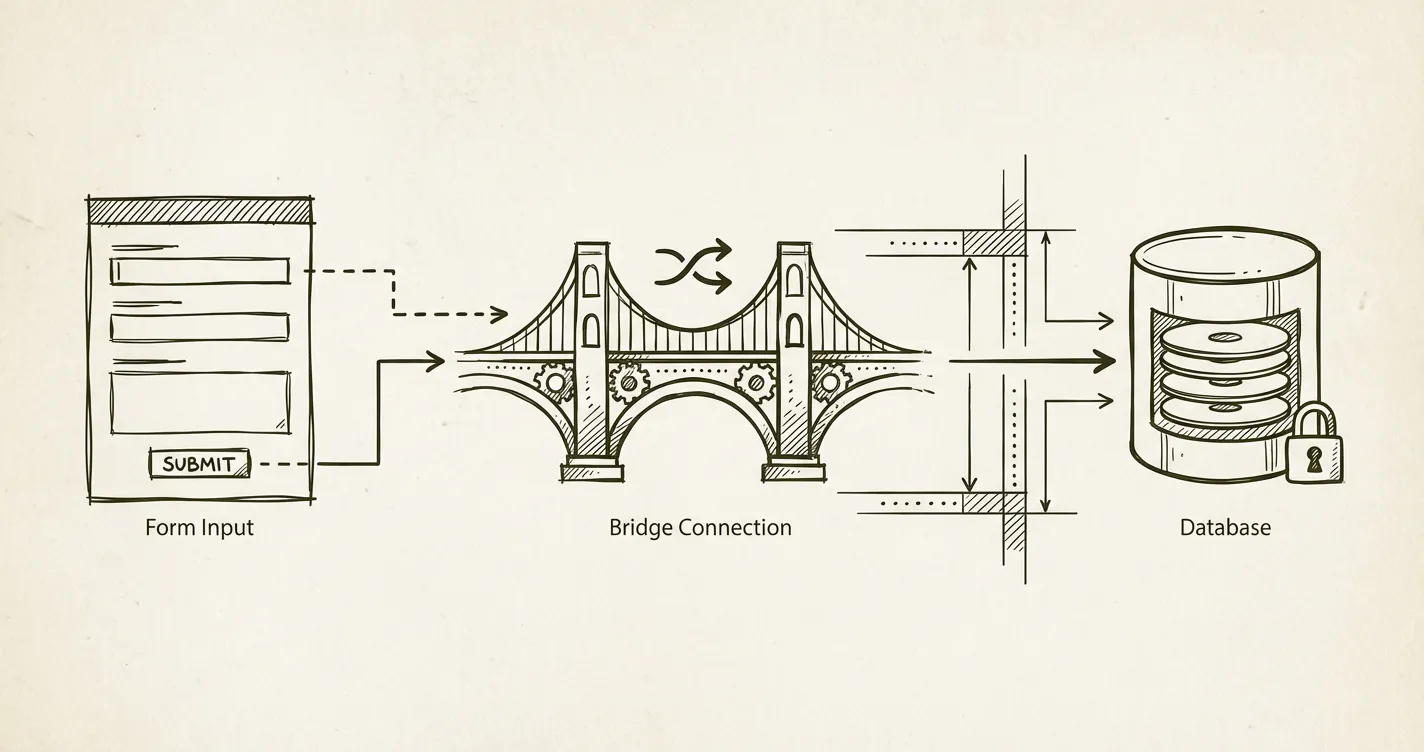
The first is contact capture: people who visit the website fill in a form — a contact form, a newsletter sign-up, an enquiry form, an event registration — and those contacts flow automatically into the organisation's CRM. No manual export, no copy-pasting email addresses from a Webflow notification into a spreadsheet. The contact appears in the CRM, tagged correctly, ready for follow-up.

The second is donation data: donors who give through the website appear in the CRM with their donation history attached to their contact record. The fundraising team can see who has given, when, how much, and through which campaign — without manually reconciling data from the donation platform and the CRM separately.

These are distinct integrations and they sit in different parts of the technical stack.

For contact capture, the connection happens at the website level — a form on the Webflow site sends data to the CRM. This is where I work.

For donation data, the connection happens between the donation platform (Fundraise Up, Donorbox, Enthuse) and the CRM directly — not through Webflow. Donation platforms have their own native integrations with the major CRMs, configured in the donation platform's dashboard. This isn't a Webflow task; it's a fundraising operations task handled by the fundraising team or the donation platform's onboarding team.

Understanding this distinction prevents a common misunderstanding at project briefs: the Webflow consultant is not the right person to configure Salesforce or set up a Donorbox-to-HubSpot sync. What I can do is ensure the website's contact capture is set up correctly and that the donation forms are embedded in a way that supports whatever CRM workflow the fundraising team is running.

Contact Capture: HubSpot Form Embeds on Webflow

The most common CRM contact capture request I handle is HubSpot. The approach is an embed — the same method used for Donorbox in R-12. HubSpot provides an embed code for each form you create in its platform, and that code is placed in a Webflow HTML embed element on the relevant page.

This means the form that appears on the Webflow site is technically a HubSpot form — it's hosted by HubSpot and submits data directly to HubSpot. When a visitor fills it in and submits, they appear in HubSpot as a contact automatically. No Webflow form, no Zapier, no middleware required.

Step 1: Create the Form in HubSpot

Forms are created in the HubSpot portal, not in Webflow. In HubSpot, navigate to Marketing → Forms and create a new form. Add the fields you need — name, email, organisation, area of interest, or whatever your contact capture requires.

This step is usually done by whoever manages the HubSpot account — typically the Communications team or a HubSpot administrator. I don't need access to the HubSpot portal to complete the Webflow integration, but the form needs to exist and be published in HubSpot before the embed code is available.

Step 2: Get the HubSpot Embed Code

In HubSpot, once the form is published, navigate to the form's settings and look for the Embed option. HubSpot provides a snippet of JavaScript that loads the form on any external page.

The embed code looks broadly like this:

html

<script charset="utf-8" type="text/javascript" src="//js.hsforms.net/forms/embed/v2.js"></script>
<script>
 hbspt.forms.create({
   region: "eu1",
   portalId: "YOUR_PORTAL_ID",
   formId: "YOUR_FORM_ID"
 });
</script>

The portalId and formId values are unique to your HubSpot account and form. Copy this code from HubSpot — don't type it manually.

Screenshot placement: [Screenshot showing HubSpot's form settings with the Embed Code panel open and the script visible]

Step 3: Add a Webflow Embed Element

In Webflow, navigate to the page where the contact form should appear — a contact page, a newsletter sign-up section, an event registration page.

  1. In the Webflow Designer, add an Embed element from the Add panel
  2. In the embed's code editor, paste the HubSpot embed code
  3. Click Save & Close

As with Donorbox, the form won't render fully in the Webflow Designer view — it will show as an empty placeholder or a basic outline. It loads correctly on the published site.

Screenshot placement: [Screenshot showing Webflow Designer with an Embed element selected and the HubSpot script in the code editor]

Step 4: Style the Container

HubSpot forms inherit basic styling from your HubSpot portal's form theme settings. The form fields, labels, and submit button will typically look like HubSpot's default styling unless you've applied custom CSS in HubSpot or override it via a CSS embed in Webflow.

For most nonprofit sites, I apply minimal CSS to bring the form closer to the site's brand — button colour, font, field border radius — without fully rebuilding HubSpot's form styling. The goal is brand consistency without spending significant time on styling that HubSpot will reset if the form is updated.

Wrap the Embed element in a Webflow Div Block and apply width constraints from the Webflow style panel, as with Donorbox embeds. This prevents the form from stretching awkwardly on wide layouts.

Step 5: Test the Form

  1. Publish the Webflow site
  2. Navigate to the page and fill in the form with test details
  3. Submit it
  4. Open HubSpot and confirm the test contact has appeared in Contacts
  5. Confirm the contact is tagged correctly — associated with the correct form, list, or workflow if those are configured in HubSpot

If the contact doesn't appear in HubSpot after submission: confirm the HubSpot portal ID and form ID in the embed code are correct, and that the Webflow site has been republished after adding the embed.

Screenshot placement: [Screenshot showing HubSpot Contacts view with a test contact created from a Webflow form submission]

What HubSpot Does After the Form Submission

Once a contact submits the HubSpot form on your Webflow site, everything that happens next is in HubSpot — not Webflow. This is handled by the HubSpot administrator or the Communications team:

  • Adding the contact to a list or a workflow
  • Triggering an automated welcome email
  • Assigning the contact to a fundraising team member
  • Setting lifecycle stage (lead, subscriber, donor)

This configuration is outside the scope of the Webflow build. When I add a HubSpot embed to a client's site, I confirm the form submits correctly and the contact appears in HubSpot. What happens to that contact inside HubSpot is the client's team's responsibility.

Donation Platform to CRM: Not a Webflow Task

For donation data flowing into a CRM — donors appearing in HubSpot or Salesforce with their gift history attached — the integration happens between the donation platform and the CRM, not through Webflow.

Donorbox, Fundraise Up, and Enthuse all have native integrations with the major CRMs:

Donorbox integrates natively with Salesforce, HubSpot, Mailchimp, Campaign Monitor, Constant Contact, and others. These integrations are configured in the Donorbox dashboard under Integrations — the fundraising team connects their CRM account and maps which Donorbox data fields sync to which CRM fields.

Fundraise Up has direct integrations with Salesforce, HubSpot, and others, plus Zapier connectivity for CRMs without a native integration. Configuration is in the Fundraise Up portal.

Enthuse supports integrations with UK-sector CRMs including Salesforce and Raiser's Edge, alongside common email marketing platforms.

None of these integrations involve Webflow. The donation form is on the Webflow site, but the donation data flows from the donation platform to the CRM directly — Webflow is not in that data path.

If a nonprofit's fundraising team asks why their donors aren't appearing in Salesforce after setting up a Donorbox embed, the answer is not a Webflow problem. The Donorbox–Salesforce integration needs to be configured in Donorbox. I can point them in the right direction, but CRM configuration is a fundraising operations task, not a web development task.

Webflow's Native Forms: When to Use Them Instead

Webflow has its own built-in form functionality. Webflow forms are simpler to build — they're created entirely within the Designer without any embed code — and they send submission notifications to a specified email address. Form submissions are also stored in the Webflow dashboard and can be exported as a CSV.

Webflow forms are appropriate when the contact capture requirement is simple: receive a notification, review manually, follow up by hand. They work well for a contact enquiry form or a service referral form where volume is low and the team handles responses individually.

Webflow forms are not appropriate when contacts need to flow into a CRM automatically. They don't integrate with HubSpot, Salesforce, or other CRMs natively. You can connect them via Zapier or Make (formerly Integromat), but this adds a third-party dependency and a monthly cost for a middleware service. For organisations with HubSpot already in use, the embedded HubSpot form is cleaner — it goes directly to HubSpot without middleware.

The decision rule: if the organisation uses a CRM and needs contacts captured from the website to appear there automatically, use the CRM's own embed form. If they just need an email notification and occasional manual export, Webflow's native form is simpler and sufficient.

Newsletter Sign-Ups and Email Marketing

The same embed approach applies to email marketing platforms that aren't full CRMs. Mailchimp, Campaign Monitor, and similar platforms all provide embed codes for their sign-up forms — paste the code into a Webflow Embed element and the subscriber goes directly to the email platform's list.

For organisations using HubSpot for both CRM and email marketing, a single HubSpot form handles both — the contact is captured in HubSpot and can be added to email lists and workflows from there.

A Summary of Who Does What

TaskWho handles it
Creating the HubSpot formHubSpot administrator / Communications team
Embedding the form in WebflowWebflow consultant
Testing form submissions → HubSpotWebflow consultant confirms; HubSpot admin verifies contact
HubSpot workflows, lists, automated emailsHubSpot administrator
Donorbox → CRM integrationFundraising team (in Donorbox dashboard)
Fundraise Up → CRM integrationFundraising team (in Fundraise Up portal)
Donation data mapping and field configurationCRM administrator / Fundraising operations

This table is worth sharing with clients at project brief stage. Unclear ownership of CRM configuration is one of the most common causes of post-launch friction on nonprofit sites — the Webflow consultant finishes their work, the site launches, and three months later someone notices donors aren't appearing in Salesforce. That's not a Webflow problem, but it becomes the Webflow consultant's problem to explain.

Setting clear expectations about what is and isn't in scope for the web build — and what needs to be set up by the fundraising team independently — prevents that conversation.

Further Reading

Eric Phung has 7 years of Webflow development experience, having built 100+ websites across industries including SaaS, e-commerce, professional services, and nonprofits. He specialises in nonprofit website migrations using the Lumos accessibility framework (v2.2.0+) with a focus on editorial independence and WCAG AA compliance. Current clients include WHO Foundation, Do Good Daniels Family Foundation, and Territorio de Zaguates. Based in Manchester, UK, Eric focuses exclusively on helping established nonprofits migrate from WordPress and Wix to maintainable Webflow infrastructure.

Eric Phung
Website Consultant for Nonprofits and International NGOs

Not sure where your site currently stands?

A Blueprint Audit tells you exactly what needs to change — and why.

Before implementing anything new, it's worth knowing what your current site is and isn't doing for your stakeholders. The Blueprint Audit gives you that clarity in two to three weeks.

Learn about the Blueprint Audit

Related Resources

Compliance & Governance

Using AI Tools for Nonprofit Website Content: A Practical Guide

A practical guide to using AI writing tools on nonprofit website content — what they're genuinely useful for, where human review is non-negotiable, and the governance questions your organisation needs to answer before using them.

Read more
Using AI Tools for Nonprofit Website Content: A Practical Guide
Compliance & Governance

Accessibility Statement Template for Nonprofit Websites

A ready-to-use accessibility statement template for nonprofit and charity websites — including what to include, how to structure it, and how to keep it current.

Read more
Accessibility Statement Template for Nonprofit Websites
Compliance & Governance

Website Performance Monitoring for Nonprofits: Metrics That Matter

A practical guide to website performance monitoring for nonprofit organisations — covering which metrics to track, which tools to use, and how to build a sustainable quarterly review cadence.

Read more
Website Performance Monitoring for Nonprofits: Metrics That Matter

Join our newsletter

Subscribe to my newsletter to receive latest news & updates

Subscribe
Thank you! Your submission has been received!
Oops! Something went wrong while submitting the form.
Modern building with large triangular windows reflecting sunset light, surrounded by greenery and trees near a water body.