Schedule a Conversation

How to Embed a Donation Form on Your Webflow Nonprofit Website

Published on
February 14, 2026
Fundraising & Donations

How to Embed a Donation Form on a Webflow Nonprofit Website

Before You Start

This guide covers the front-end integration — how each platform connects to your Webflow site and how to verify it works correctly. It doesn't cover configuring the donation platform itself: setting up campaigns, payment methods, recurring giving options, or donor receipting. Those are configured in each platform's own dashboard, typically by your fundraising team or the platform's onboarding team.

What you need before starting:

  • A Webflow site on a paid hosting plan
  • A configured donation campaign in your chosen platform (Fundraise Up, Donorbox, or Enthuse)
  • The integration code or campaign identifier from your platform dashboard
  • Admin access to the Webflow site

If you haven't chosen a platform yet, the Donation Software Comparison for Nonprofits covers the main options and how to match them to your organisation's stage.

Fundraise Up: Modal via Campaign Hash Code

Fundraise Up uses a modal overlay approach. The donation form doesn't live on your Webflow page — it loads as a fullscreen overlay when a donor clicks a button. This means the integration has two parts: the embed script that loads Fundraise Up on the page, and the campaign hash code that opens the correct donation form.

Step 1: Add the Fundraise Up Embed Script

Fundraise Up provides an organisation-level embed script that must be present on any page where a donation button will appear. This script is added once, typically to the site's global custom code so it loads on every page.

In Webflow, navigate to Site Settings → Custom Code → Footer Code and paste the Fundraise Up embed script. Your Fundraise Up account manager or the platform documentation will provide the exact script for your organisation — it contains your unique organisation identifier.

Save the settings and publish the Webflow site.

Screenshot placement: [Screenshot showing Webflow Site Settings with the Footer Code field and the Fundraise Up script added]

Step 2: Get the Campaign Hash Code

In your Fundraise Up dashboard, navigate to the campaign you want to link to. Each campaign has a unique hash code — a short alphanumeric string that begins with a hash symbol, formatted like #ABCDE123.

Your fundraising team or the person who configured the Fundraise Up account will provide this code. You don't need access to the Fundraise Up backend to complete the integration — you only need the hash code itself.

Step 3: Link the Hash Code to a Webflow Button

In Webflow, select the button or link element that should open the donation form.

  1. In the element settings, navigate to the Link field
  2. Set the link type to URL
  3. Enter the hash code as the link value — for example #ABCDE123
  4. Save

When a donor clicks this button, the Fundraise Up embed script detects the hash and opens the corresponding campaign form as a modal overlay. The donor completes their donation without leaving your page.

Screenshot placement: [Screenshot showing Webflow element settings with the link field set to a hash code value]

Step 4: Test the Integration

Before launching, test the button in a browser:

  1. Publish the Webflow site
  2. Navigate to the page containing the donation button
  3. Click the button — the Fundraise Up modal should open immediately
  4. Confirm the correct campaign is displayed
  5. Confirm the modal closes correctly
  6. Test on mobile — the modal should be fully functional and scrollable on small screens

If the modal doesn't open: confirm the embed script is published in the Footer Code and that the Webflow site has been republished after adding it. Confirm the hash code matches exactly — including capitalisation.

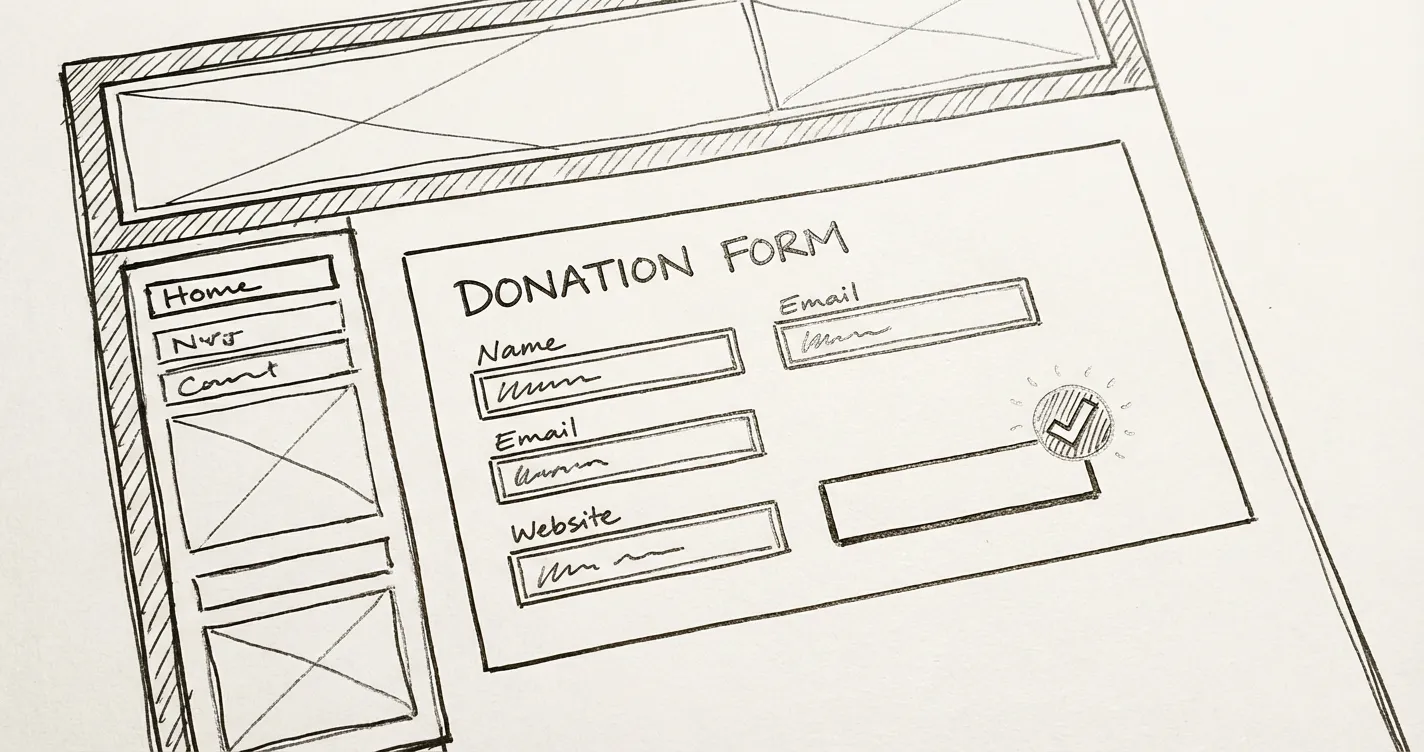
Donorbox: Inline Embed on the Page

Donorbox uses an inline embed approach. The donation form sits directly on your Webflow page within the layout, rather than opening as an overlay. This means the form is always visible to donors who scroll to it — there's no button required, though you can add one if you want to scroll visitors down to the form.

Step 1: Get the Embed Code from Donorbox

In your Donorbox dashboard, navigate to the campaign or form you want to embed. Look for the Embed or Embed on Website option — Donorbox provides a snippet of HTML code.

The embed code looks broadly like this (your specific code will contain your organisation's unique identifiers):

html

<script src="https://donorbox.org/widget.js" paypalExpress="false"></script><iframe src="https://donorbox.org/embed/your-campaign-slug"  name="donorbox"  allowpaymentrequest="allowpaymentrequest"  seamless="seamless"  frameborder="0"  scrolling="no"  height="900px"  width="100%"  style="max-width: 500px; min-width: 250px; max-height: none!important"></iframe>

Copy this code from your Donorbox dashboard — don't type it manually, as the identifiers must be exact.

Step 2: Add an HTML Embed Element in Webflow

In Webflow, navigate to the page and section where the donation form should appear.

  1. In the Webflow Designer, add an Embed element (found in the Add panel under Components)
  2. In the embed's code editor, paste the Donorbox embed code
  3. Click Save & Close

The Donorbox form will appear in the Designer as a placeholder — it won't render fully in the Designer view, but it will load correctly on the published site.

Screenshot placement: [Screenshot showing Webflow Designer with an Embed element selected and the Donorbox code visible in the embed code editor]

Step 3: Style the Container

Donorbox's embed has its own internal width constraints. The surrounding Webflow container determines how much horizontal space the form occupies on the page.

For most layouts, the form works well in a container that's 500–600px wide, centred on the page. On full-width sections, wrap the embed in a Webflow Div Block and constrain its width via the style panel. This prevents the form from stretching awkwardly on wide screens.

The form's height adjusts automatically as the donor moves through the steps — the iframe resizes dynamically. Don't set a fixed height on the containing element, as this can clip the form as it expands.

Step 4: Test the Integration

  1. Publish the Webflow site
  2. Navigate to the page containing the form
  3. Confirm the form loads correctly and displays the correct campaign
  4. Fill in test details to confirm the form fields work
  5. Test on mobile — confirm the form is usable at small screen widths and that the keyboard doesn't obscure the active input field on iOS

Donorbox provides a test mode for processing test transactions without real payment data. Use this to confirm the full donation flow works end to end before the page is promoted publicly.

Enthuse: Inline Embed or Hosted Page Link

Enthuse offers two integration options. The inline embed works similarly to Donorbox — an iframe placed in a Webflow HTML embed element. The hosted page option links donors to an Enthuse-branded page on the Enthuse domain.

Option A: Inline Embed

The setup is the same as Donorbox: get the embed code from your Enthuse dashboard, add a Webflow Embed element on the relevant page, paste the code, and test. The same container width and height guidance applies.

Enthuse's embed code will be provided from your campaign settings in the Enthuse dashboard — look for the Embed or Widget option.

Option B: Hosted Page Link

If an inline embed isn't appropriate — for example, if you want a cleaner page layout without an iframe — Enthuse's hosted page approach works differently.

Rather than embedding a form on your Webflow site, you link to Enthuse's own donation page:

  1. In Webflow, select the button or link element for the donation CTA
  2. Set the link type to URL
  3. Enter the full Enthuse campaign URL provided in your Enthuse dashboard

When a donor clicks, they're taken to the Enthuse-hosted page to complete their donation, then optionally redirected back to your site's thank-you page after completing the transaction.

The limitation of this approach is that donors leave your Webflow site during the donation. The benefit is simplicity — there's no embed to configure or maintain.

For most organisations, the inline embed produces a better donor experience because the brand consistency is maintained throughout. Use the hosted page option only if the inline embed causes layout problems that can't be resolved.

Accessibility Considerations for Donation Forms

Donation form embeds introduce third-party iframes into your Webflow page. Accessibility testing tools like WAVE and Axe will flag iframes that lack a title attribute — this attribute tells screen reader users what the iframe contains.

For Donorbox and Enthuse embeds, add a title attribute to the iframe element within the embed code:

html

<iframe  title="Donation form"  src="https://donorbox.org/embed/your-campaign-slug"  ...></iframe>

If the embed code is a snippet you've been given rather than code you control, you can modify this single attribute safely — it doesn't affect functionality, only accessibility.

Fundraise Up's modal approach doesn't involve an embedded iframe in the same way, but confirm that the modal is keyboard accessible — a donor should be able to open it with Enter on a keyboard-focused button, tab through all fields, and close it with Escape.

Placing the Donation CTA: Where It Sits on the Page

The position of the donation button or form on the page affects conversion. A few placement principles that hold across all three platforms — and that I apply consistently on client sites:

Homepage. A primary donation CTA on the homepage is appropriate, but it shouldn't be the first thing a visitor sees. Donors who give without context are rare — most need to understand the organisation's work and impact before they're ready to give. Place the CTA after an impact section or a compelling programme description, not in the hero.

Dedicated giving page. All three platforms work well on a dedicated /donate or /give page where the form or modal is the primary purpose of the page. This is the highest-converting placement — donors who navigate to a donation page have already decided to give and are completing the action, not being persuaded.

Campaign or appeal pages. For specific campaigns — an annual appeal, an emergency fundraising push, a matched giving drive — the donation form or button sits close to the campaign content. Donors responding to a specific ask want to act immediately; don't make them scroll past unrelated content to find the form.

Blog posts and case studies. A donation CTA at the end of an impact story or case study works well for organisations with compelling programme content. It connects the emotional response to the giving action while the reader is engaged.

A Note on Thank-You Pages

All three platforms support redirecting donors to a custom thank-you page on your Webflow site after a completed donation. Setting this up is worth the small effort — it means the donor lands back on your branded site, where you can reinforce the impact of their gift, invite them to share, and direct them to related content.

The thank-you page URL is configured in the donation platform's campaign settings, not in Webflow. Ask your fundraising team or the platform's onboarding documentation for where to find this setting.

Checklist Before Promoting the Donation Page

  • Embed script or iframe added and Webflow site published
  • Form or modal tested in a browser — opens and displays correct campaign
  • Test transaction completed in platform's test mode
  • Form tested on mobile — usable at small screen widths
  • Iframe title attribute added for accessibility
  • Thank-you page configured in platform settings
  • Donation CTA positioned appropriately on page — not forcing too early in the journey
  • Form visible without horizontal scrolling on all tested screen widths

Further Reading

Eric Phung has 7 years of Webflow development experience, having built 100+ websites across industries including SaaS, e-commerce, professional services, and nonprofits. He specialises in nonprofit website migrations using the Lumos accessibility framework (v2.2.0+) with a focus on editorial independence and WCAG AA compliance. Current clients include WHO Foundation, Do Good Daniels Family Foundation, and Territorio de Zaguates. Based in Manchester, UK, Eric focuses exclusively on helping established nonprofits migrate from WordPress and Wix to maintainable Webflow infrastructure.

Eric Phung
Website Consultant for Nonprofits and International NGOs

Not sure where your site currently stands?

A Blueprint Audit tells you exactly what needs to change — and why.

Before implementing anything new, it's worth knowing what your current site is and isn't doing for your stakeholders. The Blueprint Audit gives you that clarity in two to three weeks.

Learn about the Blueprint Audit

Related Resources

Compliance & Governance

Using AI Tools for Nonprofit Website Content: A Practical Guide

A practical guide to using AI writing tools on nonprofit website content — what they're genuinely useful for, where human review is non-negotiable, and the governance questions your organisation needs to answer before using them.

Read more
Using AI Tools for Nonprofit Website Content: A Practical Guide
Compliance & Governance

Accessibility Statement Template for Nonprofit Websites

A ready-to-use accessibility statement template for nonprofit and charity websites — including what to include, how to structure it, and how to keep it current.

Read more
Accessibility Statement Template for Nonprofit Websites
Compliance & Governance

Website Performance Monitoring for Nonprofits: Metrics That Matter

A practical guide to website performance monitoring for nonprofit organisations — covering which metrics to track, which tools to use, and how to build a sustainable quarterly review cadence.

Read more
Website Performance Monitoring for Nonprofits: Metrics That Matter

Join our newsletter

Subscribe to my newsletter to receive latest news & updates

Subscribe
Thank you! Your submission has been received!
Oops! Something went wrong while submitting the form.
Modern building with large triangular windows reflecting sunset light, surrounded by greenery and trees near a water body.